1.9. Uninstalling RestoreX360 when Windows Fails to Boot
Uninstalling RestoreX360 Premium When Windows Fails to Boot
If you are unable to boot into Windows and need to uninstall RestoreX360 Premium, you can do so through the Subsystem Console.
Follow these steps:
1. Restart your computer and press the HOME key when the RestoreX360 Premium splash screen appears. This will launch the Subsystem Console.
2. If Access Control is enabled, you will be prompted to enter your username and password.
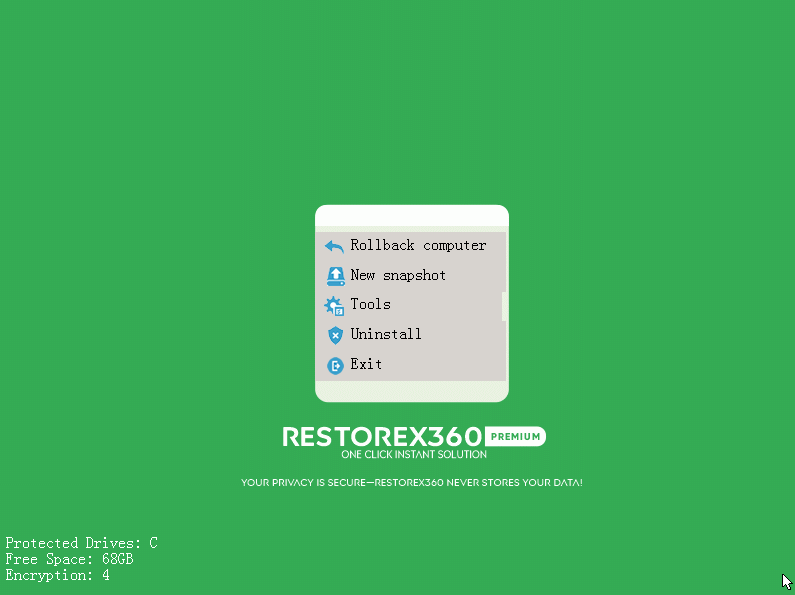
3. From the Subsystem Console menu, select "Uninstall."
4. You will be prompted to select a snapshot to uninstall to. This snapshot will become the final state of your PC after the uninstallation is complete.
5. Click “Next” to proceed with the uninstall process.
⚠️ Note: Uninstalling RestoreX360 Premium from the Subsystem Console will remove the software and revert your system to the selected snapshot. Make sure to choose the most appropriate snapshot for your needs.